
Cloud dubbing tools usually charge by the minute, by the generated character, or through a monthly subscription. That pricing becomes expensive when you localize a video library, revise scripts repeatedly, or publish every week. Local AI dubbing changes the cost model: your computer performs the transcription and voice generation, so you are not buying another block of cloud minutes every time you regenerate a line.
OpenVox AI Dubbing is available in the latest desktop apps for Mac and Windows. It can import audio or video, create a timed transcript with a local speech-recognition model, let you edit or translate each segment, generate replacement dialogue with a local AI voice, and export the finished audio or video. Your source media stays on your device when you use the fully local workflow.
“Unlimited” means OpenVox Pro does not impose a recurring character or video-minute allowance. Generation is still limited by your computer's speed, memory, storage, and the time needed to review each result. The free tier is intended for trying the workflow before upgrading.
What you need before starting
- A supported Apple Silicon Mac or Windows 10 or 11 PC.
- The latest OpenVox desktop app. AI Dubbing is not currently an iPad feature.
- Enough free storage for the transcription model, speech model, temporary audio, and exported video.
- A source video, audio recording, microphone recording, or timed SRT subtitle file.
- The rights to translate, modify, dub, and publish the source content.
- Permission to use any custom or cloned voice selected for the dub.
If you plan to clone a voice, review the OpenVox guide to voice cloning consent and privacy. A technically successful dub does not give you rights to someone else's voice or performance.
The OpenVox local dubbing workflow
| Stage | What OpenVox does | What you control |
|---|---|---|
| 1. Import and transcribe | Extracts or records audio and creates timed subtitle segments locally. | Source media, STT model, spoken language, or existing SRT. |
| 2. Edit the dub script | Preserves segment timestamps while you rewrite, translate, include, or exclude lines. | Wording, target language, translation method, and included segments. |
| 3. Generate and export | Generates each line with a local voice and assembles it on the original timeline. | Speech model, voice, dub language, preview, and output destination. |
Step 1: Install OpenVox and download your local models
Download OpenVox for Mac or Windows, then open AI Transcription > AI Dubbing. OpenVox keeps models separate from the application download, so you choose and download only the models needed for your work. Once downloaded, the models run locally.
You normally need three model capabilities:
- Speech recognition: turns the source dialogue into timed text.
- Translation: optional if the dub uses another language.
- Text to speech: generates the replacement voice line by line.
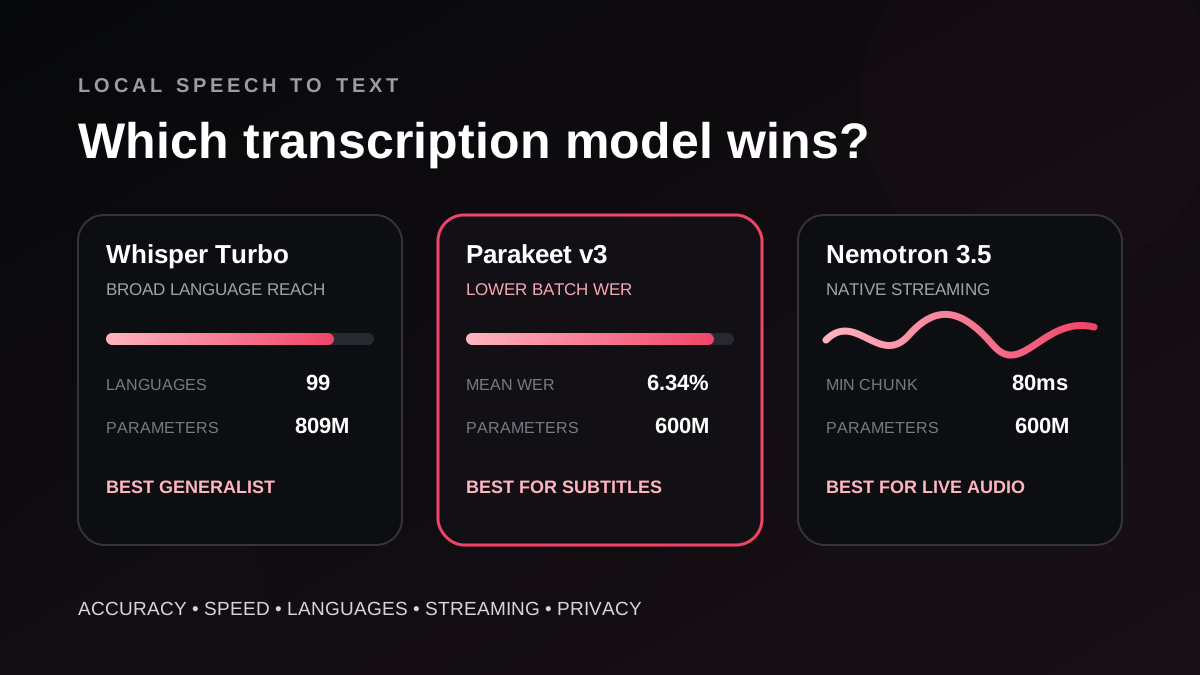
For transcription, choose a model that supports the source language. Whisper Large v3 Turbo is a broad generalist, Parakeet TDT 0.6B v3 is excellent for its supported European languages and timestamps, and Nemotron 3.5 is designed for streaming speech. See our detailed local STT model comparison before processing a large project.
Step 2: Add the source video, audio, recording, or SRT
OpenVox provides three source options:
- Upload Media: add WAV, MP3, M4A, or FLAC audio, or MP4, MOV, MKV, or WebM video.
- Record Audio: capture a source directly from your microphone.
- Import SRT: skip transcription when you already have correctly timed subtitles.
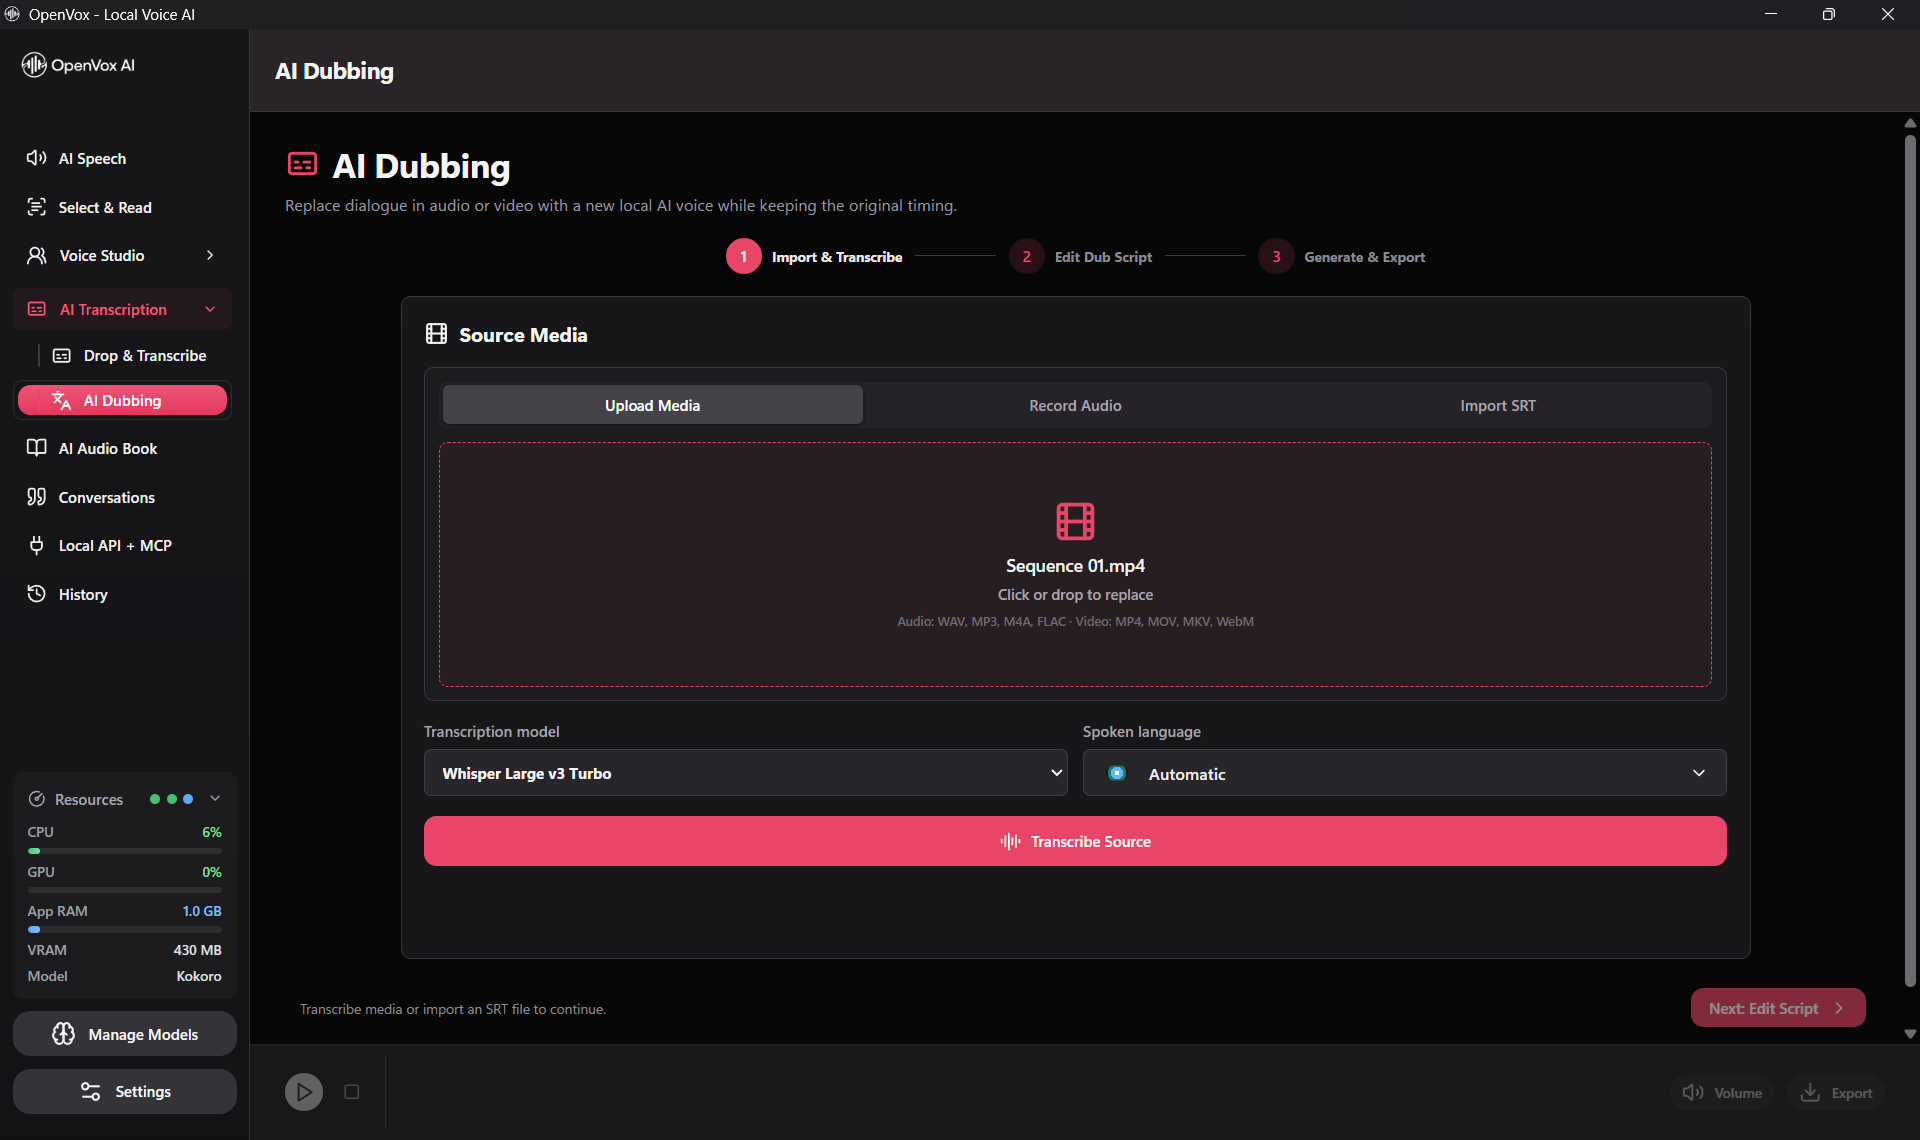
Importing a clean SRT is the fastest route because the timestamps are already defined. If you import media, choose the transcription model and spoken language, then select Transcribe Source. Automatic language detection is convenient, but manually selecting the known source language can reduce mistakes and improve consistency on short clips.
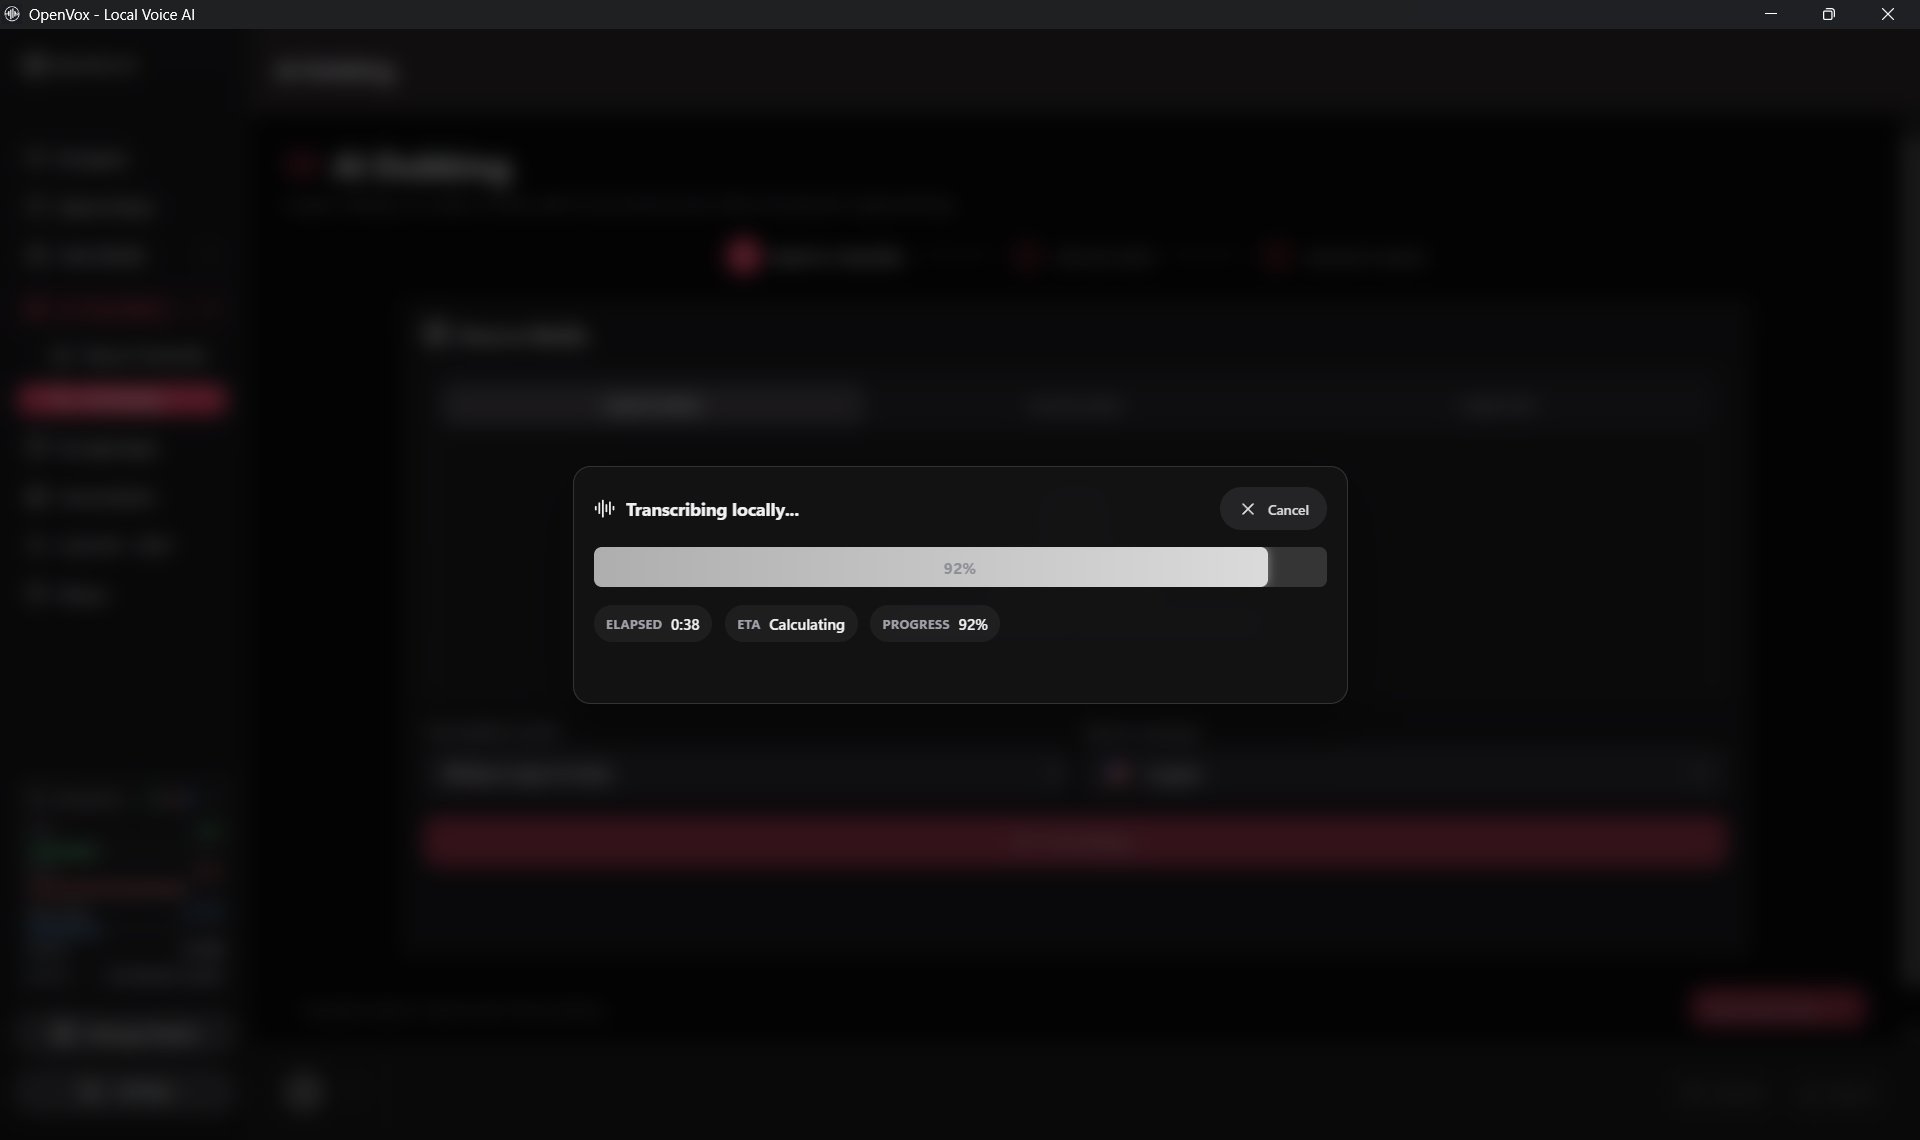
OpenVox creates timed segments rather than one unbroken paragraph. Each segment has a start time, end time, source transcript, and editable dub text. This timing structure is what lets the generated lines return to the correct place in the video.
Step 3: Correct the source transcript first
Do not translate an inaccurate transcript. Listen to the source while checking names, numbers, brand terms, abbreviations, and sentence boundaries. A single recognition error can become a fluent but incorrect translated line. Correcting the source before translation usually saves more time than repairing the generated dub later.
You can exclude a segment when it contains music, a sound effect, unwanted speech, or dialogue you want to leave in the original language. OpenVox only counts included, non-empty dialogue when generating the dubbed track.
Step 4: Keep the language or translate the dub script
If the output stays in the source language, simply edit the Dub text fields. For localization, OpenVox offers:
- Local translation: download the local neural translation model (M2M100) and use Translate All.
- Imported translation: translate elsewhere and import a translated SRT with unchanged timestamps.
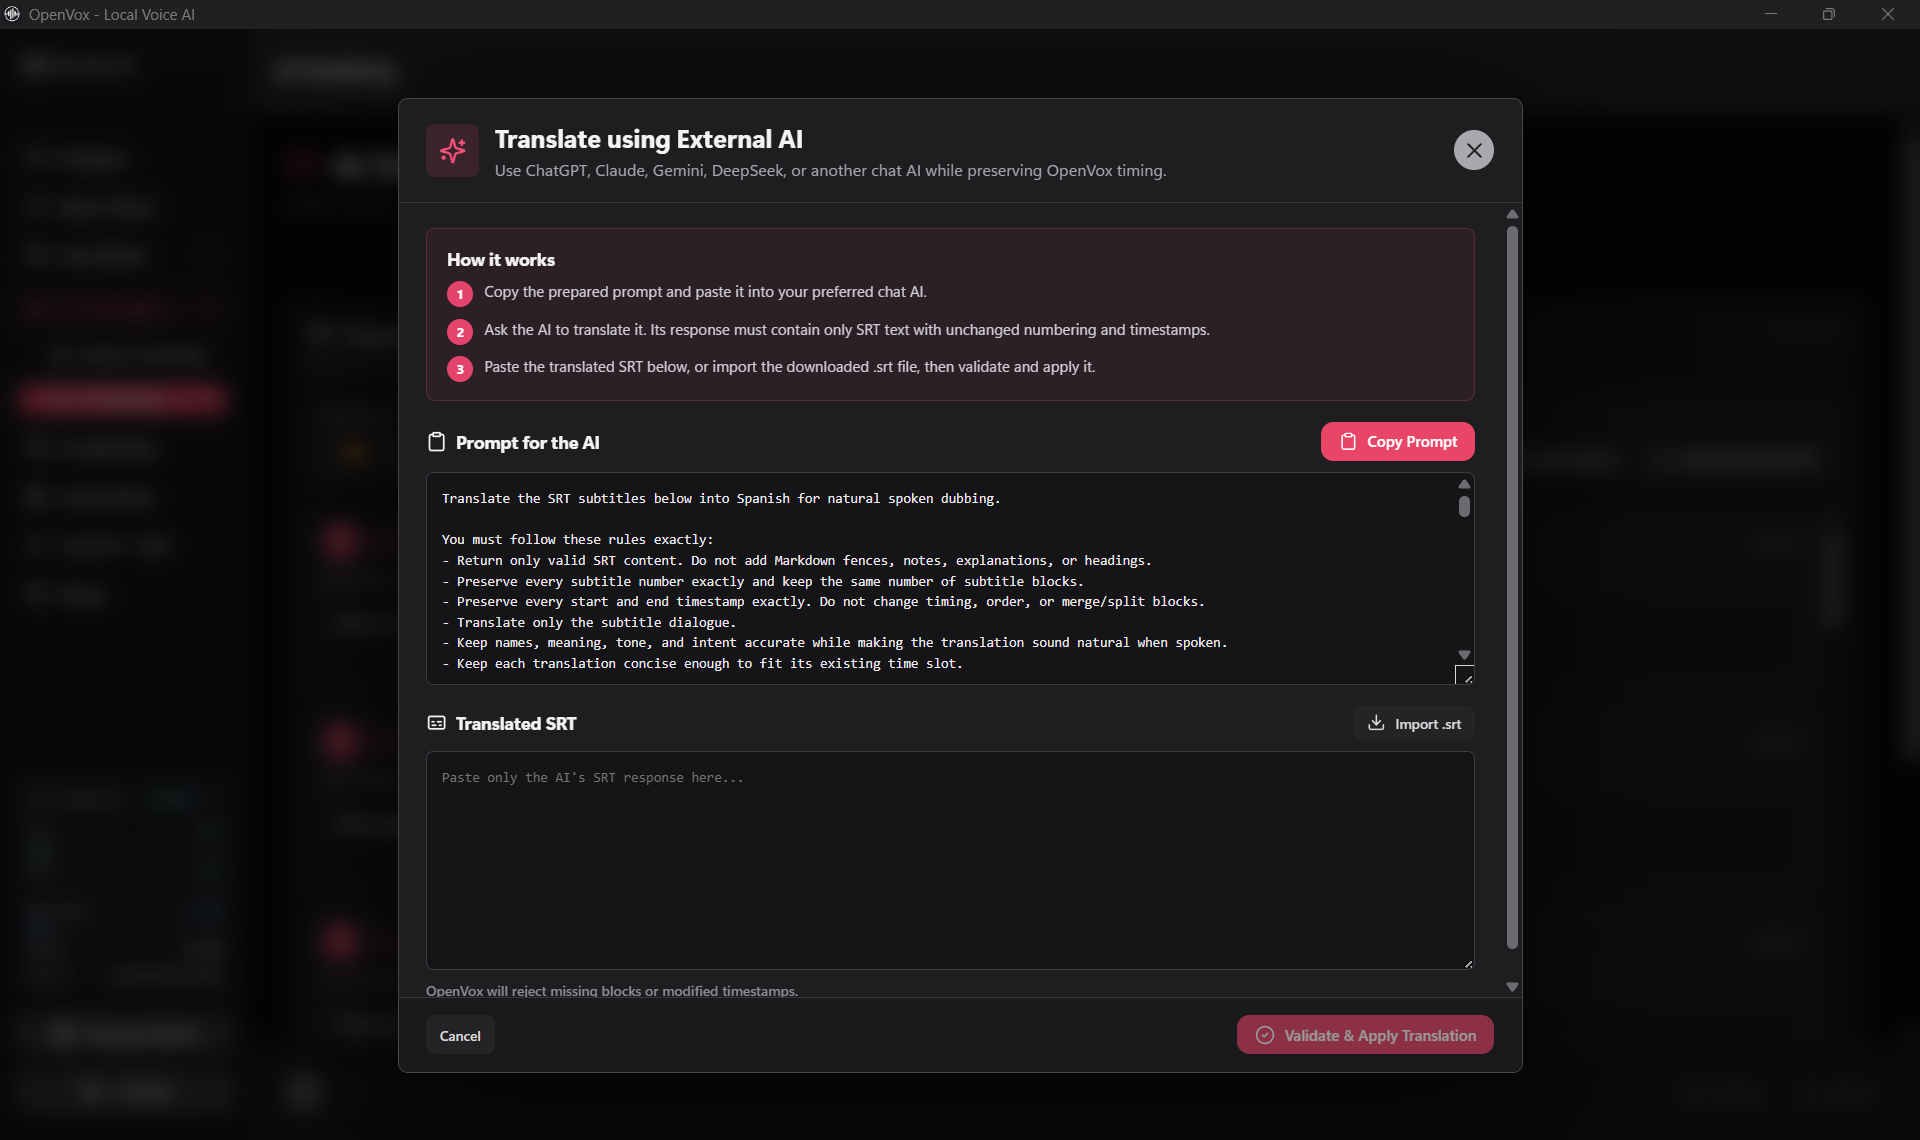
- Optional external AI: copy the prepared prompt into a chosen chat service, then validate and apply its SRT response.
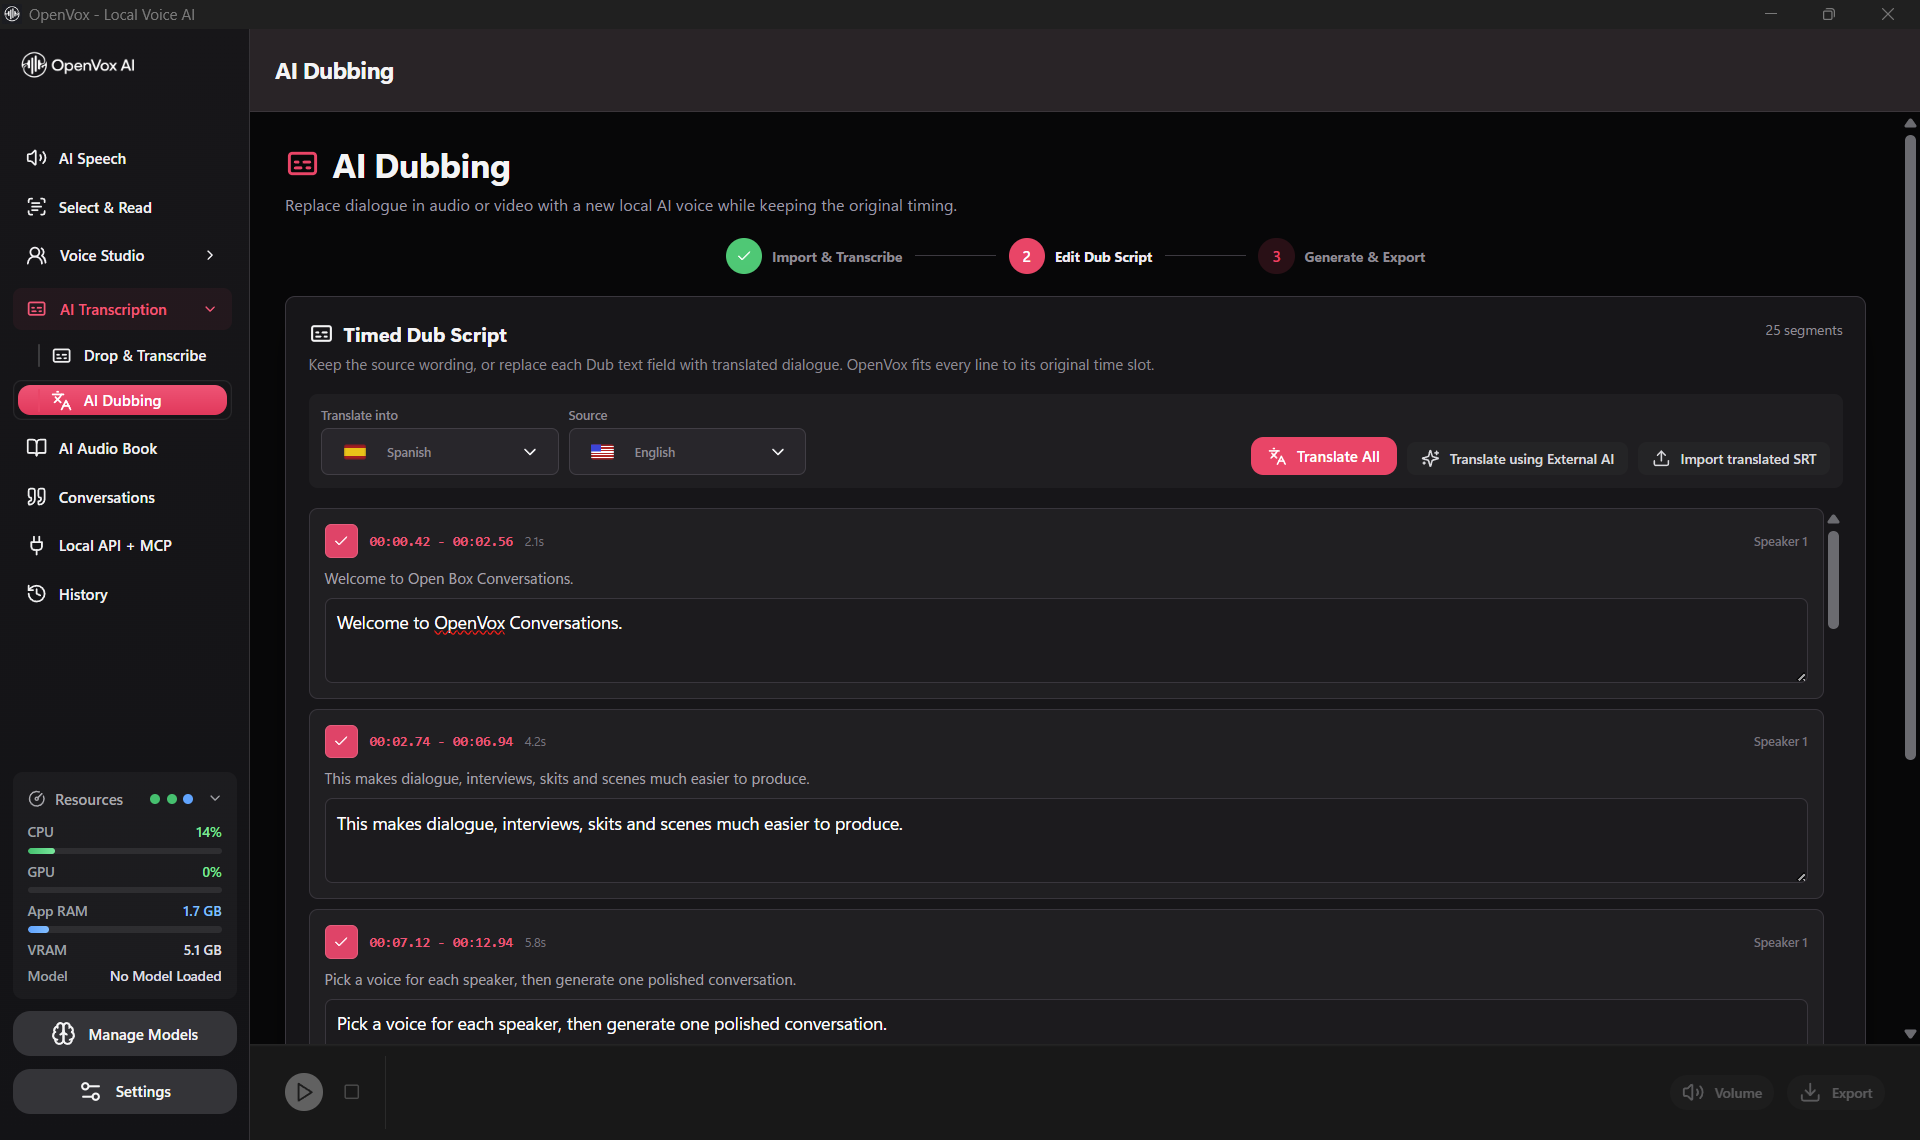
The first two paths can remain entirely local. The external-AI option is not a fully local workflow because the subtitle text is sent to the provider you choose. OpenVox validates the returned block numbers and timestamps, but you should review that provider's privacy policy before sharing confidential dialogue.
Translation length matters. A sentence that takes three seconds in English may require five seconds in another language. Rewrite for spoken brevity, not literal word-for-word equivalence. Preserve meaning, names, tone, and calls to action while keeping each line comfortable within its original slot.
Step 5: Review timing and export a script checkpoint
Read every translated line aloud before generating. Shorten cramped segments, split unnatural clauses, and avoid dense written language that sounds awkward when spoken. OpenVox aims each generated line at its original time slot, but it does not claim visual lip synchronization. Timing preservation and lip movement matching are different problems.
Use Export SRT to save a checkpoint. The SRT becomes a reusable project record that can be proofread, versioned, sent to a translator, or re-imported later without transcribing the source again.
Step 6: Choose the local speech model and voice
On Mac, MOSS TTS 1.5 is a strong quality-first option for a polished dub, with 31-language support and 48 kHz stereo output. On Windows, VibeVoice TTS is better suited to long-form multi-speaker dialogue. Choose the model that matches your platform and the type of voices in the source video.
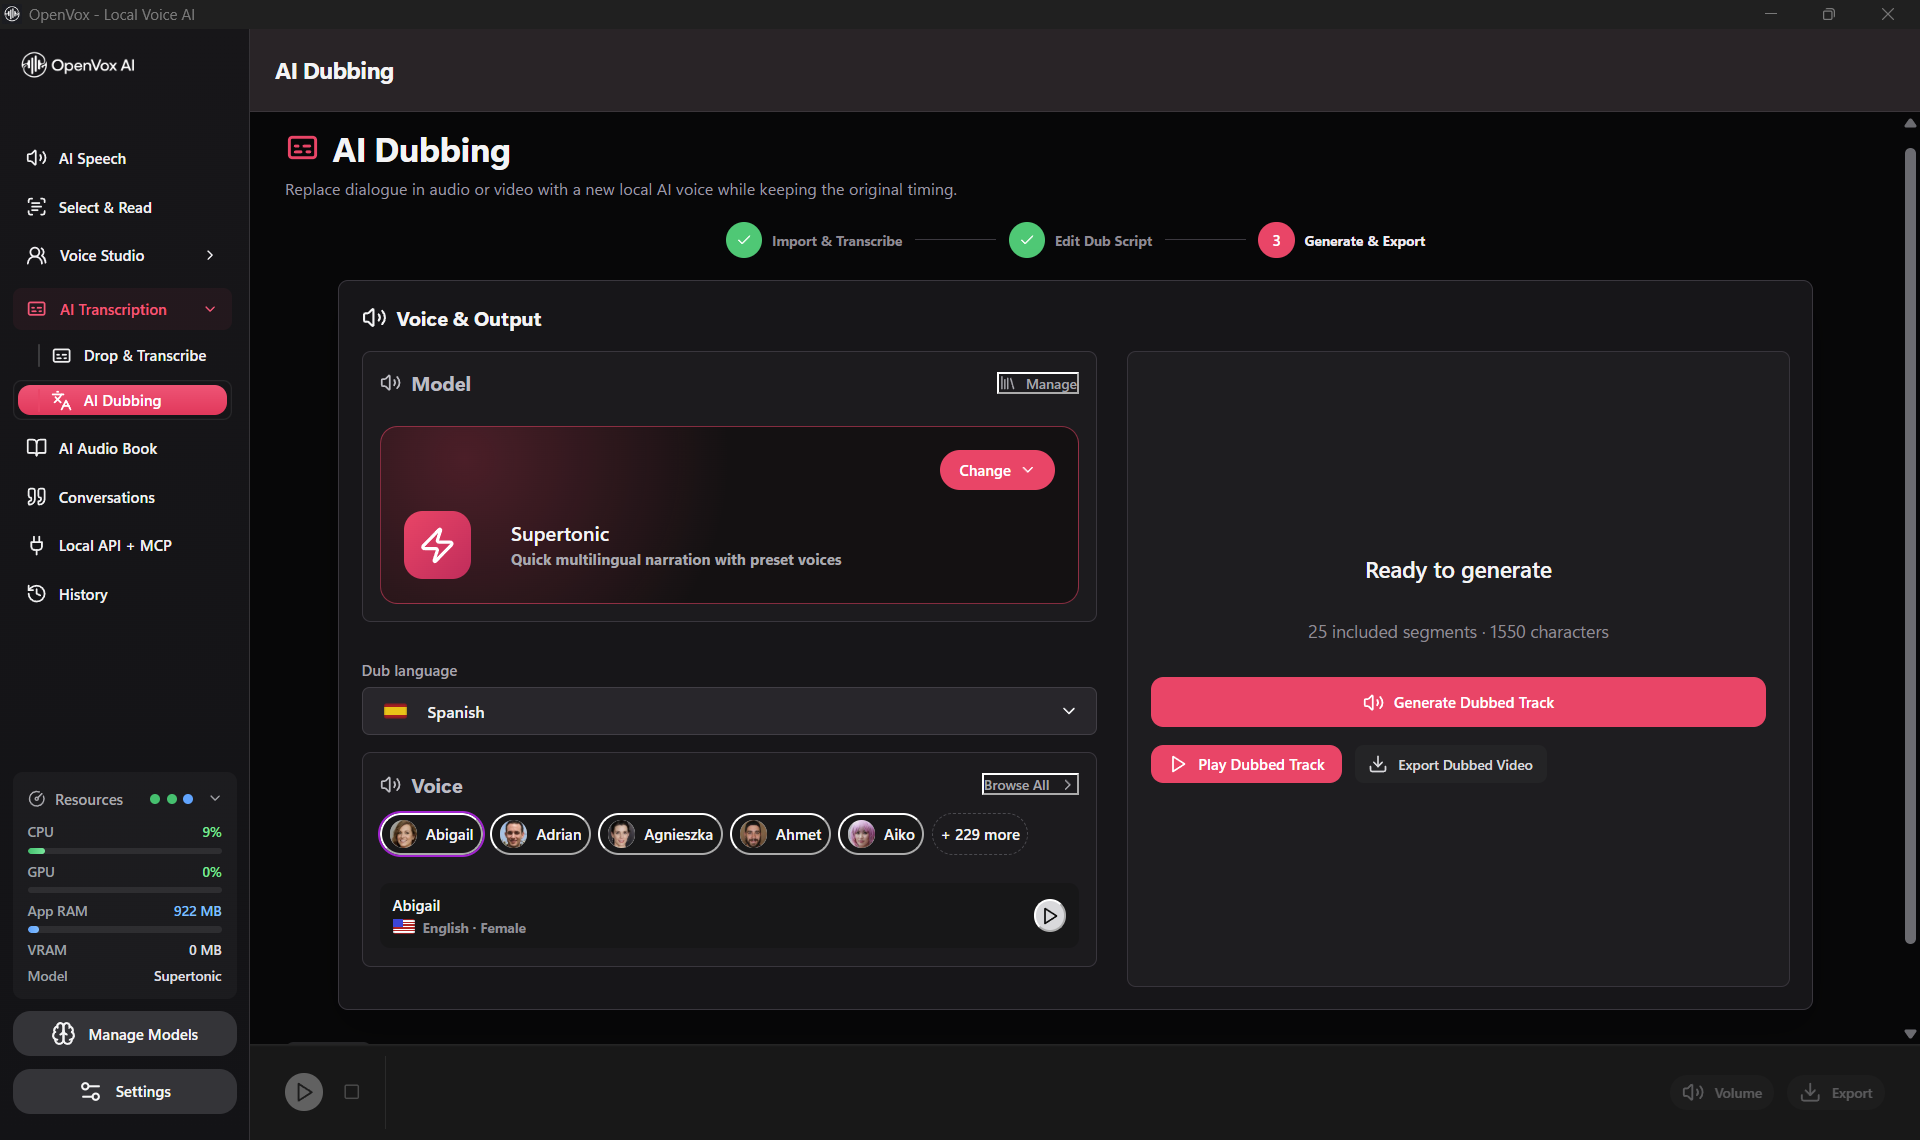
Continue to Voice & Output, select a downloaded speech model, set the dub language, and choose a compatible voice. Preview the voice before generating the full track. The best voice depends on language, pronunciation, pace, expressiveness, and how closely its delivery fits the original speaker.
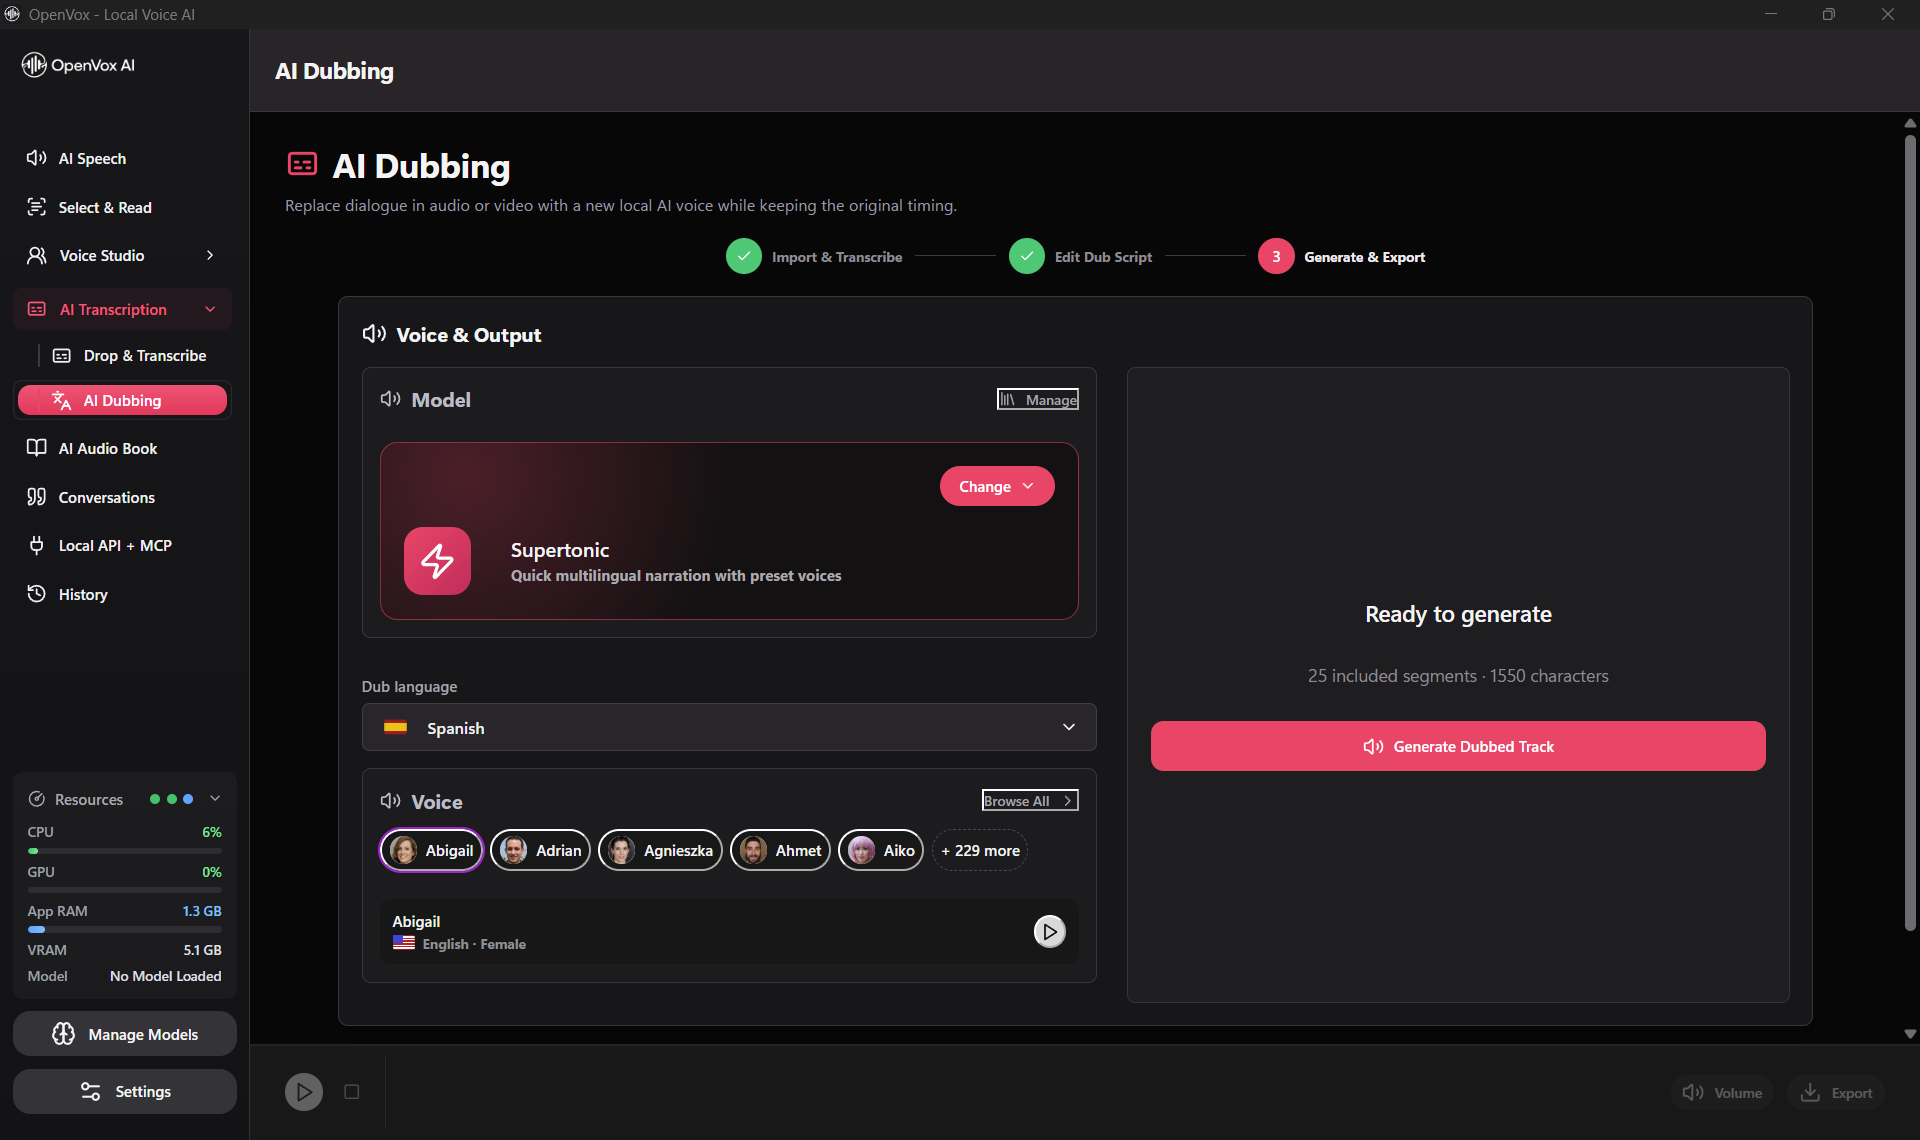
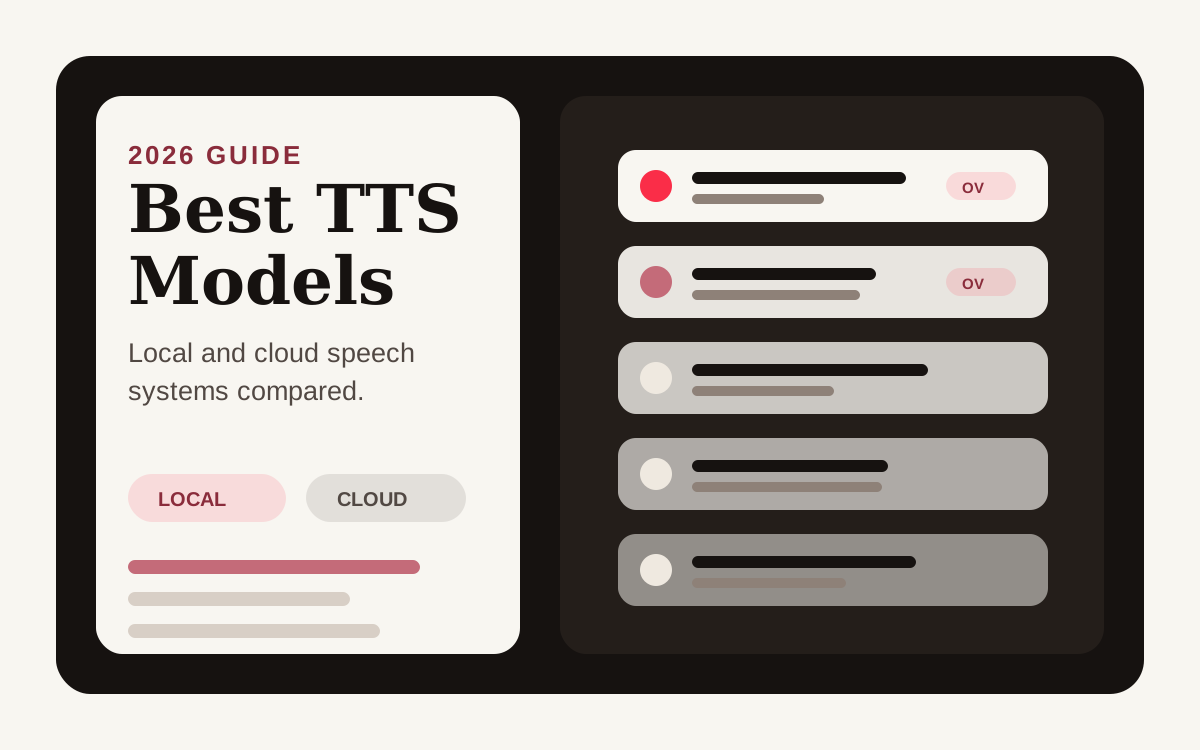
OpenVox includes several local speech engines with different strengths. Compare their quality, speed, language support, and hardware needs in our guide to the best local and cloud TTS models. For a permitted custom voice, record a clean reference and test difficult names before committing to a long export.
Step 7: Generate, preview, and export
Select Generate Dubbed Track. OpenVox generates the included dialogue segments, places them on the preserved timeline, and assembles a preview. Generation time depends on the selected voice model, video length, number of characters, CPU or GPU, available memory, and whether the machine is doing other heavy work.
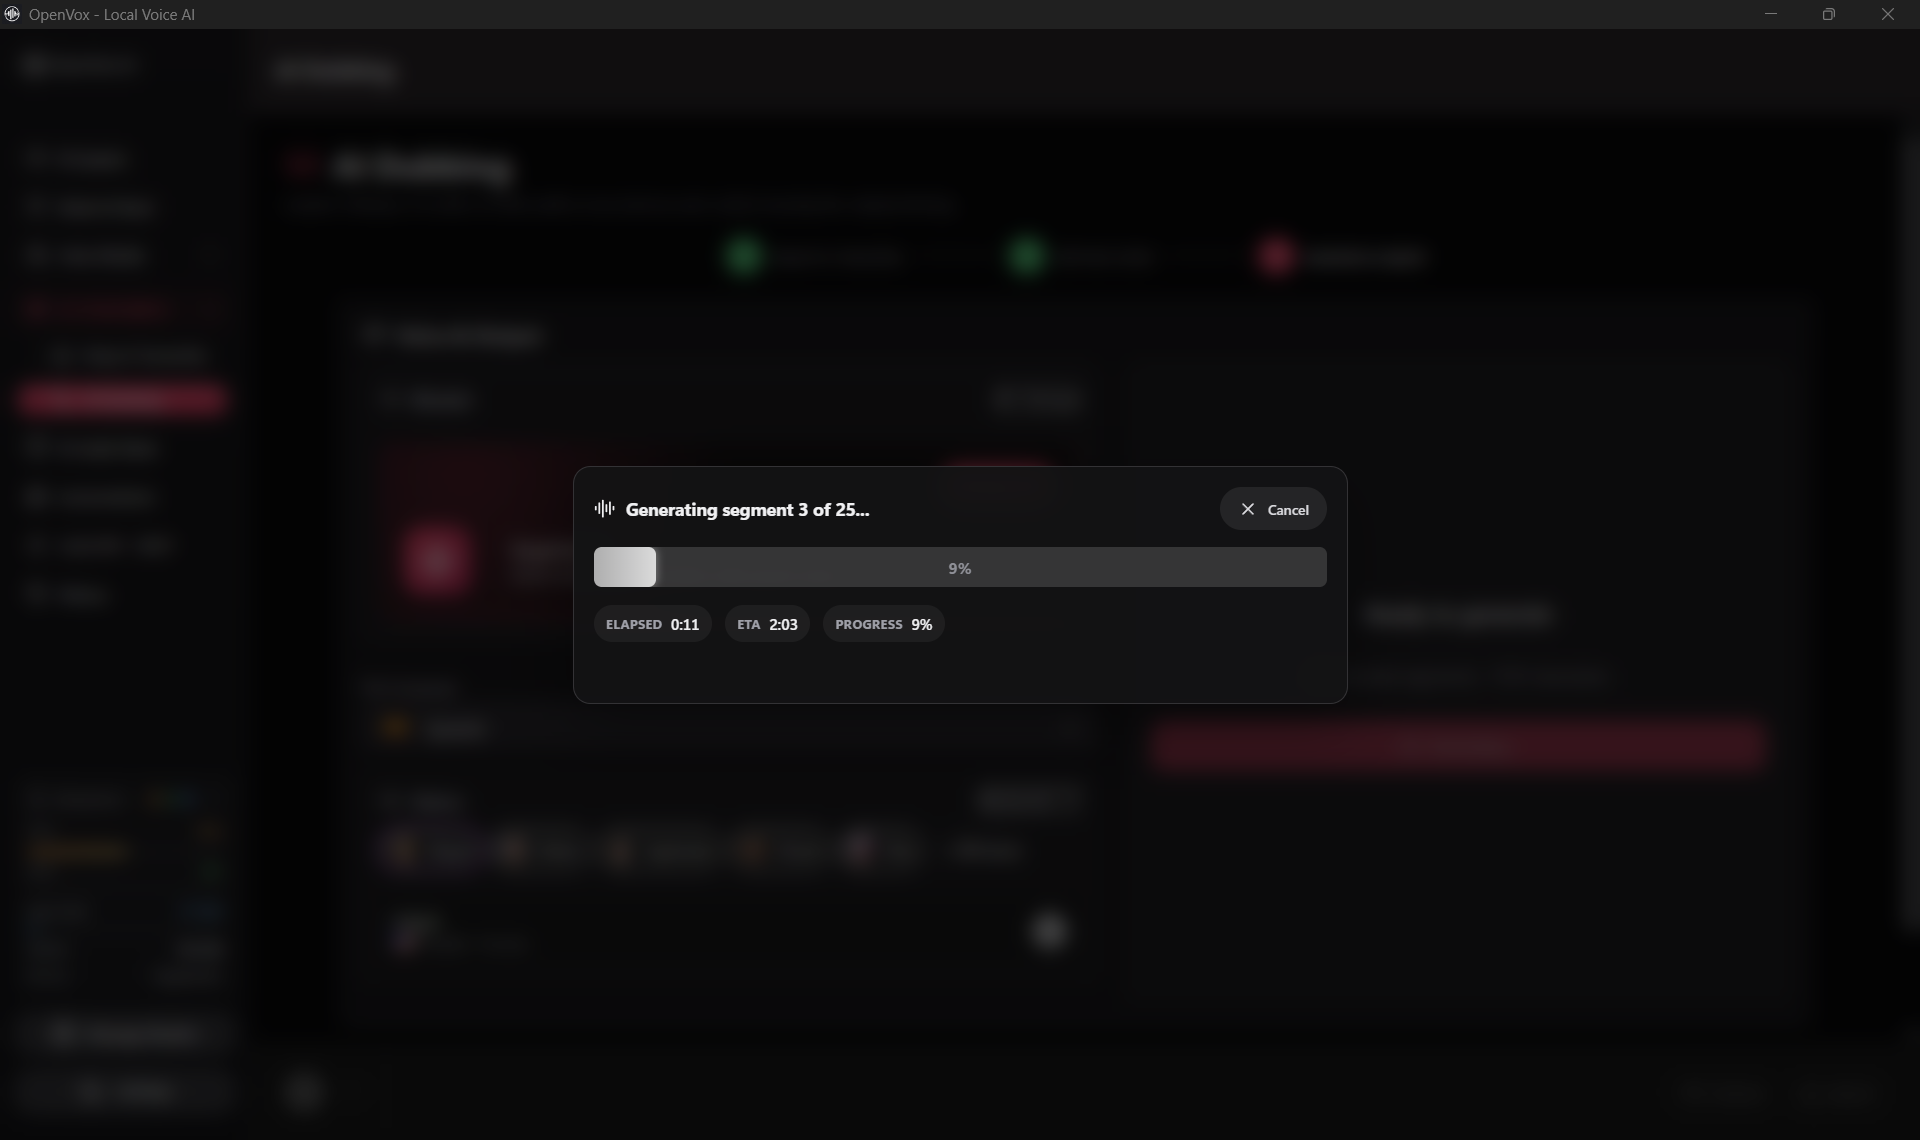
Play the dubbed track before export. Check transitions between segments, silence, sentence endings, pronunciation, loudness, and whether any line feels rushed. Edit only the affected segments and regenerate. When satisfied, export a dubbed video for video input or dubbed audio for audio input.
How to get better local dubbing results
Start with cleaner dialogue
Speech recognition struggles when music, reverb, crowd noise, or overlapping voices dominate the source. Use the cleanest master available. If possible, start from an isolated dialogue stem rather than a compressed social-media download.
Write for the available duration
Prefer short, spoken sentences. Remove redundant phrases and translate ideas rather than copying syntax. Keep numbers and abbreviations in the form that produces the intended pronunciation.
Test a representative minute first
Before generating a one-hour video, test a minute containing fast speech, names, pauses, and background sound. Confirm the transcription model, translation style, voice, and timing before processing the entire project.
Save the source and translated SRT files
A reviewed SRT is more valuable than a one-off generated track. It lets you change the voice, target language, or speech model without repeating transcription and translation.
Generate one language at a time
Keep a separate SRT and export folder for each target language. Consistent filenames prevent the wrong script or audio track from being paired with the final video.
What unlimited local dubbing does and does not mean
| Included with the local Pro workflow | Still your responsibility |
|---|---|
| No recurring per-minute dubbing charge | Computer performance and electricity |
| No Pro character ceiling for generation | Storage for models, source media, and exports |
| Local processing after model download | Reviewing transcription, translation, and pronunciation |
| Repeat generation without buying more credits | Rights to the video, script, translation, and selected voice |
| One-time Pro purchase per platform | Separate licenses when working across different platforms |
OpenVox does not promise perfect transcription, automatic speaker diarization, or visual lip sync. The current workflow is designed around a selected local dub voice and preserved subtitle timing. Multi-speaker casting and face-aware mouth movement are separate production tasks.
Why use OpenVox instead of a cloud dubbing subscription?
- Your source audio, video, transcripts, and locally generated dialogue stay on your computer.
- You can regenerate lines without consuming another cloud credit package.
- You can choose among local transcription and speech models rather than accepting one hosted engine.
- You retain editable SRT files and local exports as ordinary project assets.
- Pro costs $19.99 once per platform instead of renewing every month.
OpenVox is free to try. For ongoing unlimited generation, upgrade to Pro inside the Mac app or buy the Windows license. Review pricing, platform licensing, and purchase restoration, then visit the OpenVox AI Dubbing feature to download the desktop app.