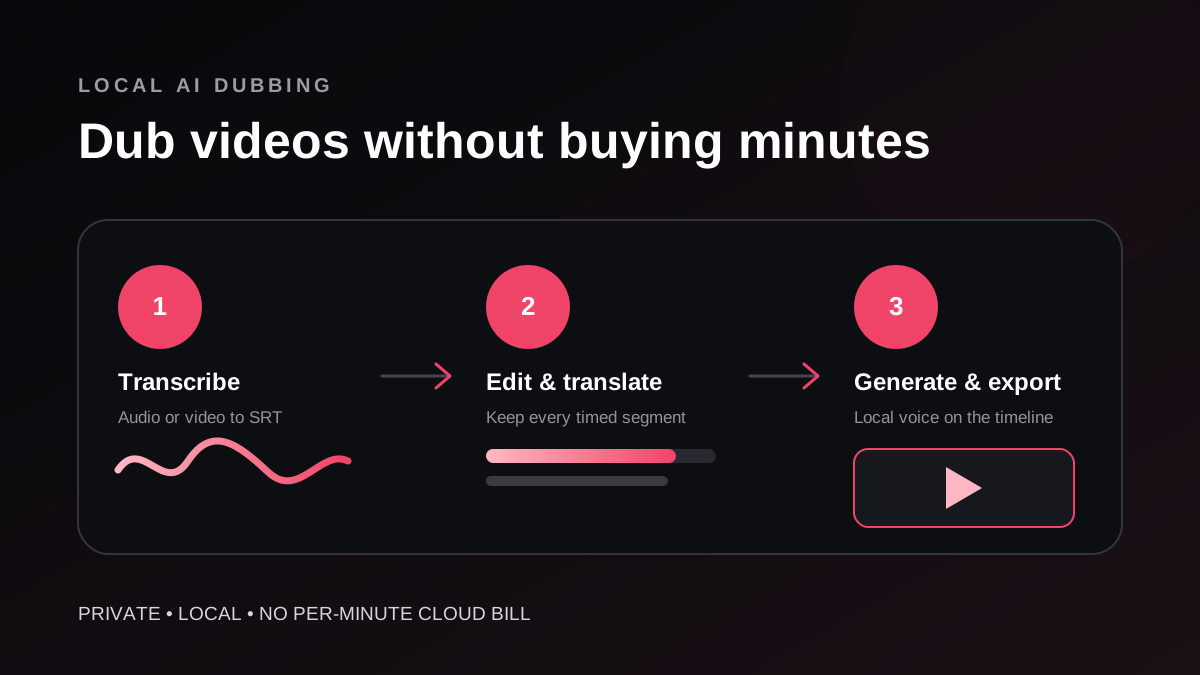

You do not need to upload an interview, lecture, podcast, or video to a subtitle website just to get an SRT file. OpenVox AI Transcription is available in the Mac, Windows, and iPad apps. After downloading a speech-recognition model, you can generate a transcript with timestamps and export it as an SRT file on your device.
The transcription workflow is free to use without a per-minute credit meter. Here, unlimited means you can run more transcription jobs without buying another block of minutes. It does not mean instant processing or infinite file size: long recordings take time, memory, and disk space.
1
00:00:01,200 --> 00:00:04,100
Welcome to the conversation.

2
00:00:04,500 --> 00:00:07,300
Let's get started.
An SRT file pairs each subtitle cue with a start time, end time, and text. The example above is illustrative.
What you need
- The latest OpenVox app on a supported Mac, Windows PC, or iPad.
- An audio or video file, or a microphone recording you make inside the app.
- Enough local storage for the model, source media, and exported subtitles.
- An internet connection for the first model download. The transcription itself runs locally afterward.
OpenVox accepts common audio and video formats. The Windows import control supports WAV, MP3, M4A, FLAC, OGG, MP4, MOV, MKV, WebM, and AVI. File support can vary by platform and app version, so check the import dialog if a particular file is rejected.
Step 1: Open AI Transcription
Install OpenVox and select AI Transcription in the sidebar. Choose a transcription model in the setup panel. Models are downloaded separately rather than bundled into the app. If the model is not yet on your device, use the download action shown beside its name and wait for it to finish.
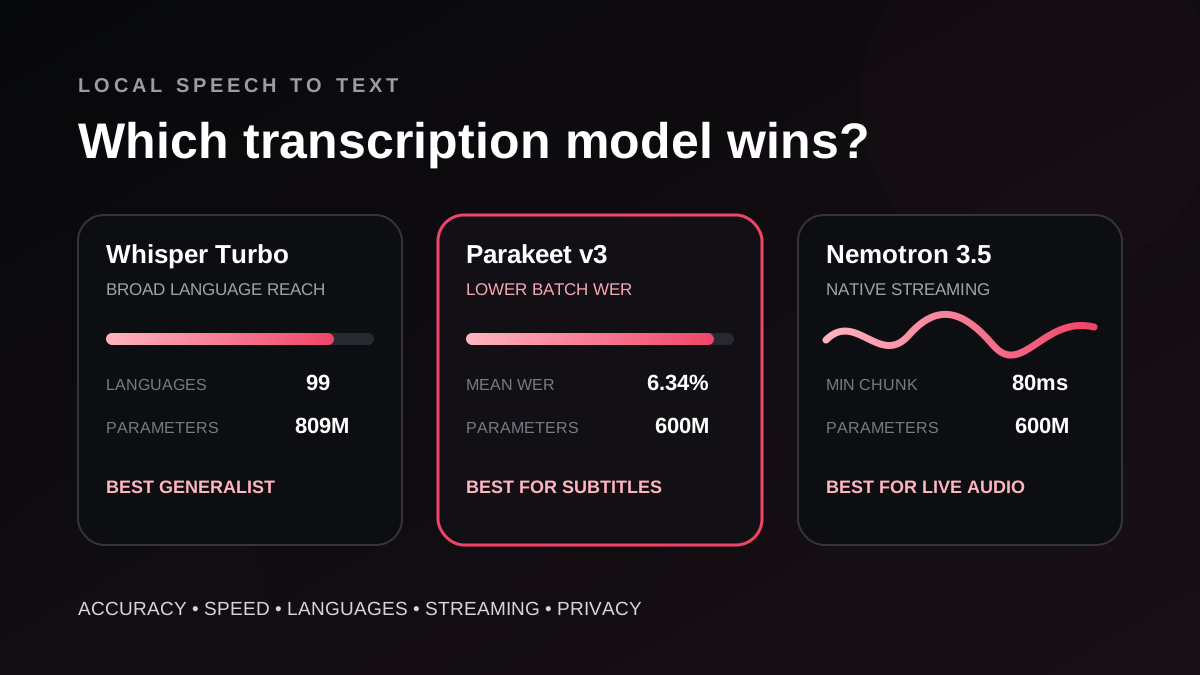
Whisper Base is a compact starting point, Whisper Small balances size and multilingual coverage, and Whisper Large v3 Turbo is useful for more challenging audio. Parakeet TDT 0.6B v3 is another fast option for its supported European languages. For a more detailed choice, see the OpenVox local transcription model comparison.
Step 2: Import the video or audio
Select Upload Media, then tap or click the import area, or drag in the file where supported. The same workflow works for audio-only recordings and supported video files: OpenVox prepares the spoken audio for local transcription. Alternatively, choose Record Audio to capture speech directly from your microphone.
Select the spoken language if you know it. Otherwise, leave Automatic selected and let the model detect it. A known language can be worth selecting manually for short clips, accents, or recordings that switch between speech and long silences.
Step 3: Transcribe the media locally
Click Transcribe Media. OpenVox shows progress while the downloaded model processes the file. Your audio or video is not uploaded to a transcription service. Processing time depends on the file length, model, and your device. A noisy recording may need a slower or more capable model than a clean voice track.
When the job finishes, the Transcript panel displays the recognized text. OpenVox also keeps timed speech segments for subtitle export. The SRT button becomes available when timed segments exist. You can export plain text separately with TXT or copy the transcript to the clipboard.
Step 4: Export the SRT file
Select SRT in the Transcript panel and choose where to save transcript.srt. OpenVox turns the timed segments into numbered subtitle cues with SRT timestamps. The export also splits or wraps long cues for readability. Import the resulting file into your video editor, caption tool, or player and check it against the original media.
A useful distinction: the editable full-text transcript and the timed subtitle segments are separate outputs. Changing words in the full-text box does not automatically rewrite the SRT cues. For subtitle corrections, open the exported SRT in a subtitle editor or text editor, adjust its cue text, then preview it against the video. Keep the timestamp format and cue numbering intact.
How to improve subtitle quality
- Start with clear audio. Background music, reverb, overlapping speakers, and clipped words can reduce recognition quality.
- Check names and technical terms. Models can produce plausible but incorrect spellings.
- Review timing in the target editor. Automatic timestamps are a starting point, not a guarantee that every cue reads comfortably.
- Keep lines concise. Shorter captions are easier to read on phones and faster-moving videos.
- Try another model when needed. A quick test clip can reveal whether a different model handles your language or recording better.
What does free and unlimited mean here?
OpenVox AI Transcription does not charge per uploaded minute, require subtitle credits, or send your media to a hosted transcription service. You can create another SRT whenever you have another recording. You still need to download a model, provide enough disk space and computing time, and review the subtitles before publishing. OpenVox Pro pricing applies to other expanded voice-generation workflows; it is not a per-minute transcription subscription. See the current Free and Pro comparison for platform licensing.
What can you do with the SRT next?
Add captions to a tutorial, make an interview searchable, create an accessibility track, or hand a timed script to an editor or translator. If you want to replace the spoken dialogue as well, OpenVox AI Dubbing can import an SRT and preserve its timing. Follow the local video dubbing guide for that next step.
Common questions
Can I make an SRT from an MP3 or podcast?
Yes. Import a supported audio file, transcribe it, and export the timed result as SRT. You do not need a video file to create subtitles.
Will it work without internet?
The initial model download requires a connection. After the chosen model is installed, core transcription runs on your device without uploading the media.
Does it automatically identify different speakers?
Do not rely on automatic speaker labels or perfect accuracy. Review names, words, cue timing, and speaker changes yourself before publishing.
Is this available on iPad?
Yes. Install OpenVox on your iPad from the App Store, download a supported transcription model, and use AI Transcription to export a timestamped SRT file. The same feature is available in the Mac and Windows apps.